Tuesday, June 17, 2014

vSphere Host Design Considerations

Host is the most important and critical object of vSphere Design as it would be hosting all the Virtual Machines and would provide the direct access to 4 major components i.e., Memory, CPU, Network and Storage (connection to SAN through I/O ports). Any Design consideration is derived only to fulfill the Application Requirements and its availability.


Before concluding on type of Physical Hosts, the architect has to go through lot of Design Considerations. I have tried to represent this through a mind map, inspired by Scott Lowe’s training video (Designing Vmware Infrastructure) and Vmware vSphere Design book. Below are some of the Design considerations

Ø   First understand the nature of Application, i.e., whether it is CPU or Memory Intensive or requires high Storage or Network I/O.
Ø  Estimate the peak Resource utilization or Resource recommendations for new workloads from respective application/OS vendors.
Ø  If the Applications are CPU or RAM intensive then proper ratio of CPU and RAM needs to manipulated for physical server.
Ø  If the applications needs high Storage IOPS then find out which type of connectivity would be required to meet the application requirements, i.e., FC, iSCSI or NFS. This gives an idea how many HBA’s would be required. Similarly with Networking whether you need fewer 10 GB cards or many 1 GB cards.

Scale UP or Scale OUT:

It is Fewer Large Servers vs More Smaller Servers, this is the main consideration in finalizing the physical server hardware, once we have the above information through initial meetings and evaluations we can finalize on type of server. Both Rack and Blade server comes in higher densities (Higher CPU & RAM), Scale UP provides higher consolidation ratio or lets you run very large VMs. One major consequence would be during physical host failure, where the cluster has to restart many VMs on rest of fewer servers for HA. The benefits of both Scale UP and Scale OUT is mentioned in the above mind map. Once the host type is finalized, depending on number of server below option could be selected for ESXi installation:


Saturday, June 7, 2014

Provisioning Virtual Desktop through Template on Horizon View 6

I have created a master image of Windows 7 and installed the required applications. Removed unwanted VM object like floppy device, cd rom and changed the power options. Finished the preparation of master image by Installing the View agent (available for 32-bit and 64-bit OS).  As there are two options to provision virtual desktops in horizon view, i.e., using Templates (Full Clone) or using VMware Composer (Linked clone). Basically Provisioning through template involves 3 steps

  1. Prepare the Master Image: configure the OS with required applications and settings as per the end user. Installing the View Agent is the main point and convert to Template using vCenter Server (I prefer doing Template >> Clone to Template).
  2. Create the Desktop Pool: Configure the pool depending on the nature of the users and how you would like to control. Once the pool is created the Virtual Desktops are provisioned on the View Manager.
  3. Prepare the End-Points: Most easiest step, just install the View Client. Available for Windows, iOS, Mac OS X, Android, Linux.

Prepare the Master Image:

  • It is very important to remove unwanted objects and services from Virtual Machine, so that the server resource could be saved.
  • Make sure the required updates, patches, applications are installed, disable the power options so that the VM doesn’t go to sleep or hibernate.
  • Set the appropriate desktop background and disable screensaver.
  • Install the View Agent, as it contains lot of features which can be deselected if not required.

Create the Desktop Pool

  1. In the Vmware Horizon View Administrator console, select Desktop Pools under Catalog, Click "Add" and select then select "Automated Pool" (which lets you use vCenter Server Template to generate new Virtual Desktop).
  2. User Assignment: I am using Dedicated as I want users to get same machine each time. Other option is Floating where users get random machine, still their profiles and data can be maintained.
  3. We would select Full Virtual Machine, as we are using Full Clone option using vCenter Server Template.
  4. Desktop Pool Identification: Give the name according to department like sales, Dev etc for ease of management.
  5. Desktop Pool Setting: Very import and options are self-explanatory.
  6. Provisioning Setting: Self-explanatory, important is naming pattern, find the description on left pane.
  7. vCenter Settings: Select the appropriate Template and Folder, Cluster and Datastore  accordingly.
  8. Choose the Storage and Guest Customization option and review before complete the Pool Configuration.
  9. Click on the Assignment tab to assign users to Virtual Desktops.
  10. After the provisioning complete, this is how it looks.

Prepare the End-Points

  1. Install the View Client on the end point and launch it.
  2. Login with the assignment given for respective Desktop, it lists all the Virtual Desktops assigned for entered username.
  3. Double Click on Virtual Desktop to access it through PCoIP or RDP (Preferred is PCoIP as it is fast).


Same Desktop could be accessed from mobile, ipad or thin-client etc. I hope this was helpful.

Friday, June 6, 2014

Configuring vCenter Server Orchestrator 5.5

VMware vCenter Server Orchestrator comes along with the vCenter Server Suite and gets installed silently. It's an automation tools with lots of built-in workflows. These built-in workflows could be edited to fulfill any specific requirement. If you have some Java scripting skills then you could create workflows to automate complex tasks. Additional workflows can be added by installing the plugin for products like vCloud Director, vCAC etc. vCenter Server Orchestrator gets installed along with the vCenter Server, but the services aren't  running. To configure vCenter Orchestrator, follow the below simple steps

  1. Go the "Services" window on the machine where you have installed vCenter Server.
  2. There are 2 services, vmware vcenter server orchestrator configuration and vmware vcenter server orchestrator server in "Manual" start-up type.
  3. Start both services and set the start-up type to "Automatic".
  4. Select vCenter Server Orchestrator Home Page from the programs list or type "IP/fqdn of vcenter:8281" in the browser. Select the Orchestrator Configuration (on port 8283).
  5. The default username and password is "vmware", after the first login it prompts to set the new password.
  6. Add the vCenter Server and the green dot on left indicates the respective configuration is good. Error is indicated by red dot and changes could be made under respective tabs. Similarly Database needs to updates, as I'm using bundled DB, selected the "embedded option. Multiple vCenter Server could be added.
  7. Now click on "Start Orchestrator Client" from the home page. Use the vCenter Server admin credentials to login.
  8. The default logged-in page, lets you run any workflow against any vCenter Server object.
  9. To create a new workflow, the select the option "Design" from the top drop-down list. The below snapshot shows the vCenter Inventory and the green play button on top runs the  workflow against selected object.

Even only vCenter Server Orchestrator can be installed, the setup is located in the vCenter Server setup. Explore the setup and select vCenter Server >> vCO. While installing it gives option to install only Client or only Server or Server + Client. Orchestrator Server requires at least Windows Server 2008.


This type of automation and orchestration can be used by normal users who are not coming from scripting background. I hope this was informative and I would share some working workflows for demonstration in the future posts.

Installing VMware Horizon View 6 Connection Server on Server 2012 R2

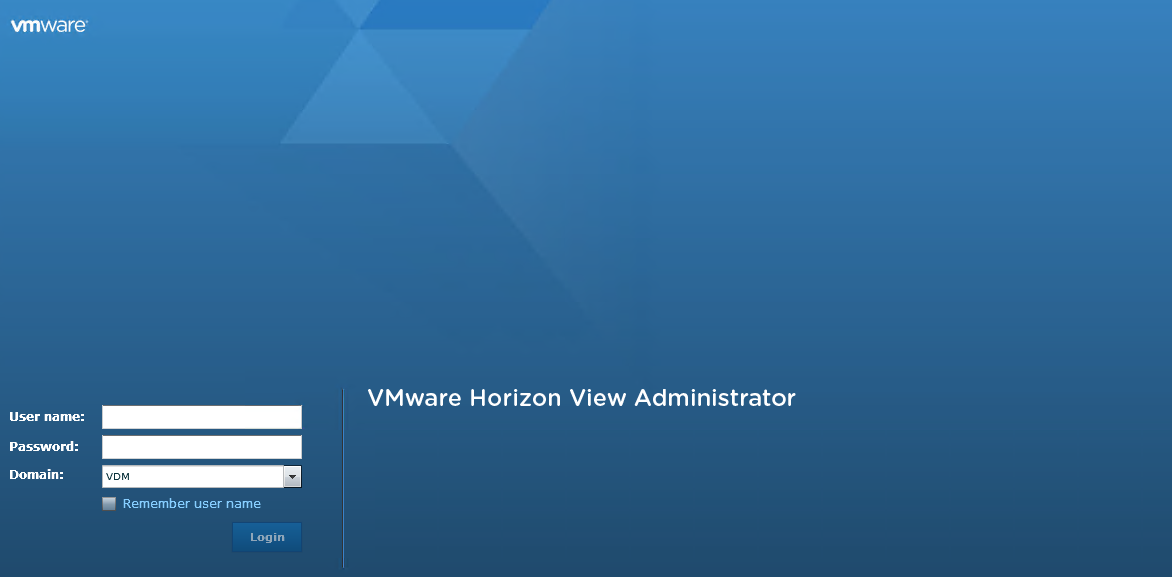
I am installing Connection Server on Windows Server 2012 R2. This is the broker which connects the users to their respective virtual desktops. This Administrative page allows you to manage the complete virtual desktop environment, create desktop pools, setup policy etc. Make sure adobe flash player is installed on the system to access the admin console.

  1. Download the VMware Horizon Suite from VMware website.
  2. Start the installation and accept the license.
  3. The same installation setup can be used to install as a connection server or a replica server or a security server, as this would be our first connection server (broker), we would choose the connection server. Also there is "HTML access" option to access virtual desktops on browser.
  4. Setup the password to protect data backup of view connection server.
  5. Configure default Windows Firewall setting if not using any specific ports.
  6. Select initial view administrator. This could later be modified.
  7. Proceed further and click on install.
  8. This concludes the installation of View Connection Server.
  9. Click on the View Administrator  Console icon to login to the Connection Server.
  10. To add vCenter Server, click on servers  under "view configuration" and click on add.
  11. Enter the vCenter Server details and proceed further.  Skip the composer settings for now.

 That concludes the installation of connection server and adding vCenter Server to Connection Server. Multiple vCenter Server could added and Virtual Desktops could be provisioned. Virtual Desktop could be deployed on demand either by
1. Template
2. VMware Composer (Linked Clone)
Also, sessions through RDS on Windows Server OS. I would cover on these topics in future blog posts, hope this was helpful.

Desktop Virtualization and VMware Horizon View basics

What is Desktop Virtualization ?

Like in server virtualization, Operating system is abstracted from the physical hardware and hardware resource like CPU and Memory can be distributed to multiple Operating Systems, similarly in Desktop Virtualization, the desktop operating system like Windows 7 or Windows 8 are virtualized and centrally managed. These Virtualized desktops are accessed through client (plugin), which can be installed on any endpoints like Desktop, Laptop, thin client, zero client, tabs, mobile running any OS like Windows, iOS, Android or Linux. This gives lot of flexibility for users to work from anywhere, anytime and through any device without compromising on company security as the complete virtualized desktops are centrally managed. All the policies can be applied on desktops or groups of desktops and you decide what users see on their desktops.

Similarly Application Virtualization is abstraction of application from operating system. Vmware ThinApp encapsulates application and further it can streamed or published to any Virtual Desktop. One of the best application I can think of is running IE6 on Windows 7.

Currently there are two major competitors Vmware Horizon View/ThinApp and Citrix Xendesktop/ XenApp, both are leaders in magic quadrant. Other Desktop virtualization solutions include MS VDI and Redhat VDI. Everyone has different approach to achieve the same outcome, few are complex to setup and complex to use. I will try to cover the basic architecture of Vmware Horizon View for desktop virtualization

There are lot of components involved to achieve complete desktop virtualization solution, I will just touch base to setup normal desktop virtualization with minimum components. The Desktop Virtualization infrastructure sits on top of server virtualization (ESXi hosts and vCenter). The Connection server interacts with vCenter Server to deploy any virtual desktop through templates or linked clones (VMware composer). These desktop images (template) needs to have view agent, and the end points(laptop, thin client, ipad etc) needs to have a view client.

Components Description:

vSphere ESXi - Host to run Virtual Desktops or other virtual machines.
vCenter Server - Management software to manage all ESXi hosts and Virtual Machines.
Connection Server (View Manager) - Broker, which provisions desktops on ESXi hosts through vCenter Server. It connects the end users to their respective virtual desktops.
ThinApp - Application virtualization, applications could be streamed separately along with Virtual Desktops
VMware composer - Works along with connection server & vCenter Server and with the help linked clone create multiple  virtual desktops in minutes.


I hope the post was helpful in understanding the basics of desktop virtualization and basic understanding of VMware horizon view architecture.