Monday, November 28, 2016

VCAP6-CMA Objective 6.2: Create and publish a service blueprint Part01

This objective has below tasks,

· Configure ASD to enable vRA / vRO communication
· Configure advanced endpoints in ASD to enable communication with AD
· Create and Publish a service blueprint
· Modify fields and field properties for Form Designer form
the first two tasks are already completed in the previous objective


1.  Login to vRA and go to Advanced Services > Service Blueprints
2. Click on Add and navigate through the vCenter Orchestrator inventory to the Workflow which you wish to publish and click on next
3. It takes the name given on vCenter Orchestrator or you may change as needed and click Next.
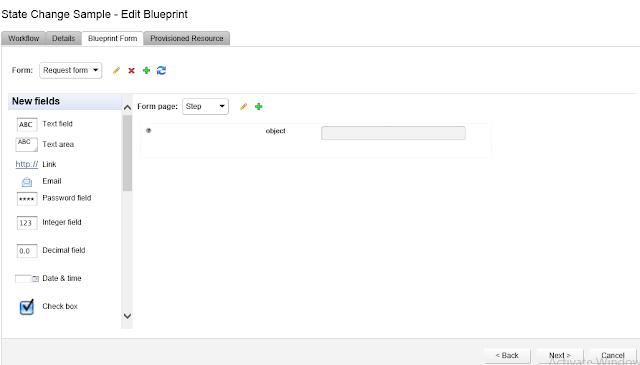
4. Form could be customized here as needed just by dragging the items from the left.Click Next
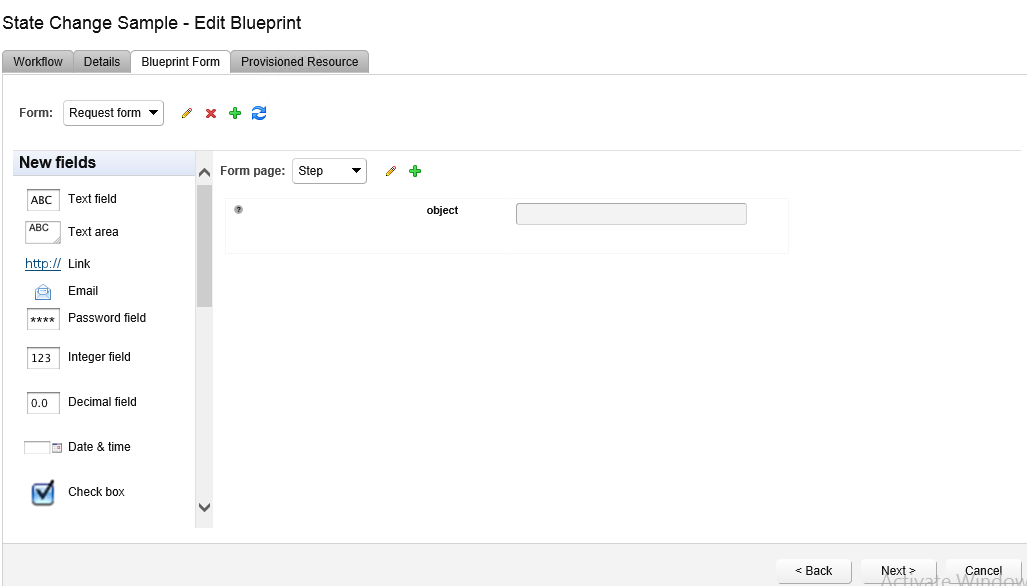
5. Provisioned resource wouldn't be available unless the custom resource is created.  
6. Click on Add
7. Service Blueprint is created but it is still in draft mode.
8. Highlight the Blueprint and  click on publish. 
9. Go to Administration > Catalog Management > Catalog Items, there you would see the newly created Service Blueprint.
10. Make this part of Service and add Entitlements to add this service as Catalog Item.


Sunday, November 27, 2016

VCAP6-CMA Objective 6.1: Configure advanced endpoints in ASD (vCenter, AD, SOAP, REST, PowerShell) part03

This is the last part of this Objective on

Configure advanced endpoints in ASD (vCenter, AD, SOAP, REST, PowerShell)


vCenter


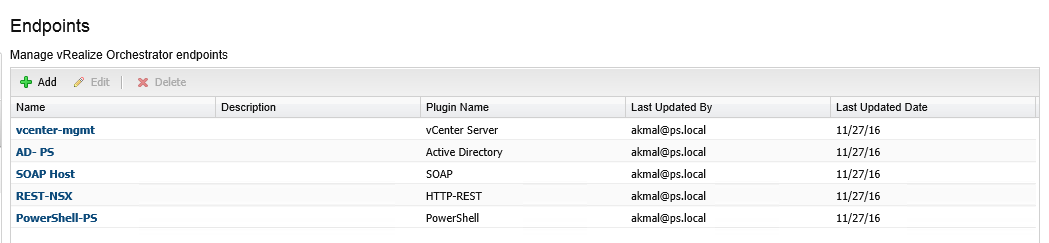
1. Login to vRA and go to Administration > Orchestration Configuration > Endpoints
2. Click on Add and select vCenter Server from the Plugin drop-down and click  Next
3. Give a name to vCenter and click on Next
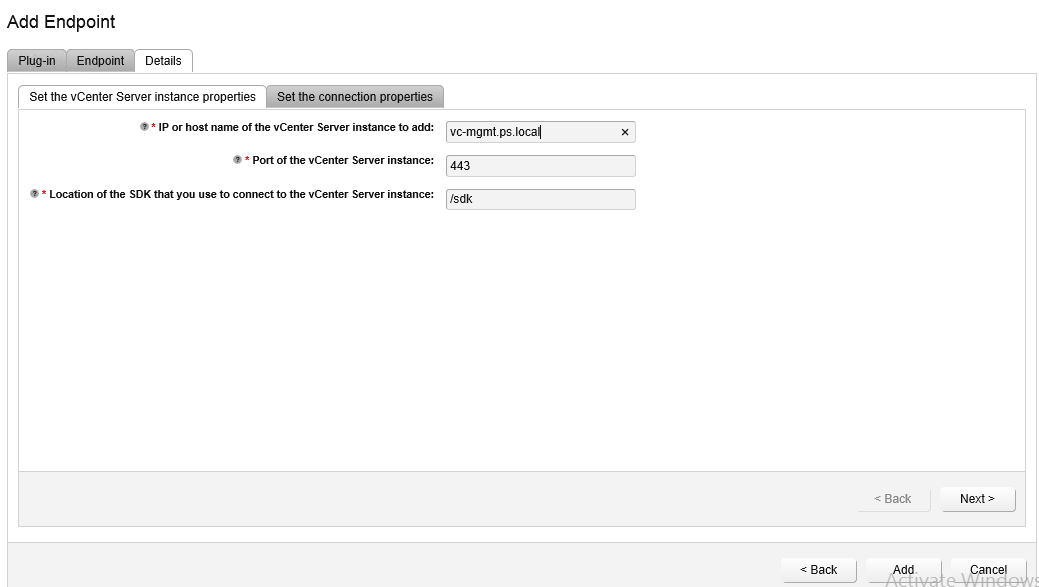
4a. Instance Properties: Enter the IP or FQDN of vCenter and click onNext
4b. Connection Properties: Enter username and password 
5. Click on Add


AD


1. Click on Add and Select Active Directory from the plugin drop-down and click on Next
2. Give a name and click on Next
3. Enter the details as per the screenshot 
4. Click on Add


SOAP


1. Click on Add and Select SOAP from the plugin drop-down and click Next
2. Give a name and click on next
3. SOAP Host: I am using developer instance of ServiceNow for this purpose. Enter the name, WSDL url and click on Next
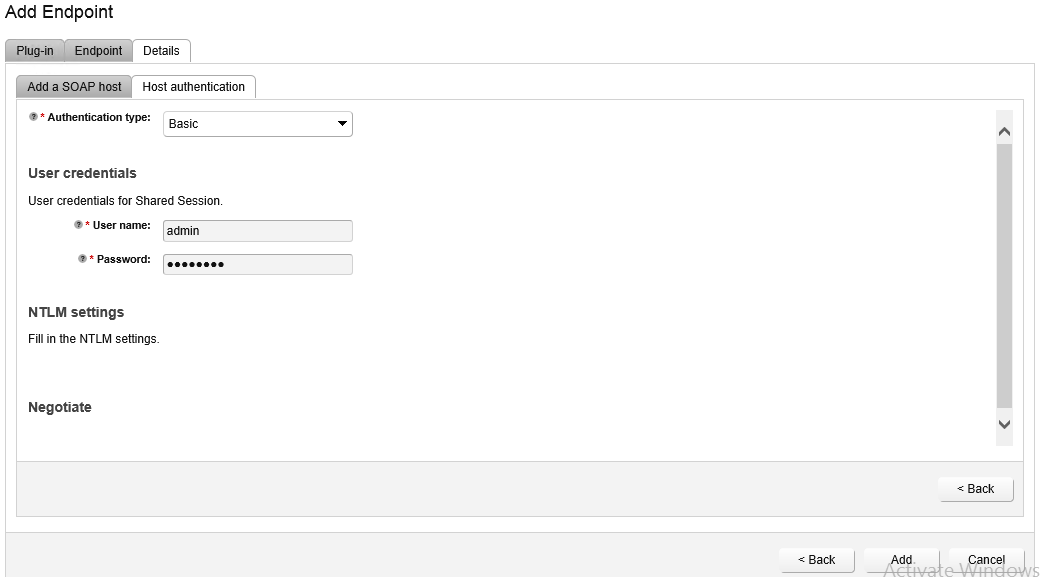
4. Host Authentication: Select Basic for Authentication type and enter the Administrator user of ServiceNow.
5. Click on Add

REST


1. Click on Add and Select HTTP-REST from the plugin drop-down and click Next.
2. Give a name and click on Next
3. REST Host: I adding NSX Manager as REST host here, Enter the Name and URL
4. Host Authentication: Select Basic for Authentication type and enter the Admin credentials for NSX Manager
5. Click on Add

PowerShell


1. Click on Add and Select PowerShell from the plugin drop-down and click Next.
2. Give a name and click on Next
There are two option, Basic & Kerberos. Kerberos needs WinRM configuration on Host and vCO. For this purpose, I am setting up Basic.
3. Select WinRM, HTTP, Basic for PowerShell host type, Transport protocol, Authentication respectively, and enter the Host/IP & credentials.
4. Click on Add


Saturday, November 26, 2016

VCAP6-CMA Objective 6.1: Configure Advanced Service Designer Part02

In this part, I will continue with next tasks of the main objective

· Configure an external vRO server to run workflows
· Create a vCO endpoint to enable vRA to communicate with an external vRO server

· Configure an external vRO server to run workflows


1. Login to vRA and go to Administration > Orchestration Configuration > Server Configuration
2. Select the radio button option for "Use an External Orchestrator Server"
3. Update the vCenter Orchestrator information as per the screenshot and click on Test Connection. You should see "Successfully connected to the Orchestrator Server" then click on Update.


· Create a vCO endpoint to enable vRA to communicate with an external vRO server


1. Login to vRA and go to Infrastructure > Endpoints > Endpoints
2. Create the Credentials for external vCO by going to Credentials. Click on New Credentials and update the name, username and password. Click on green check to save the settings.
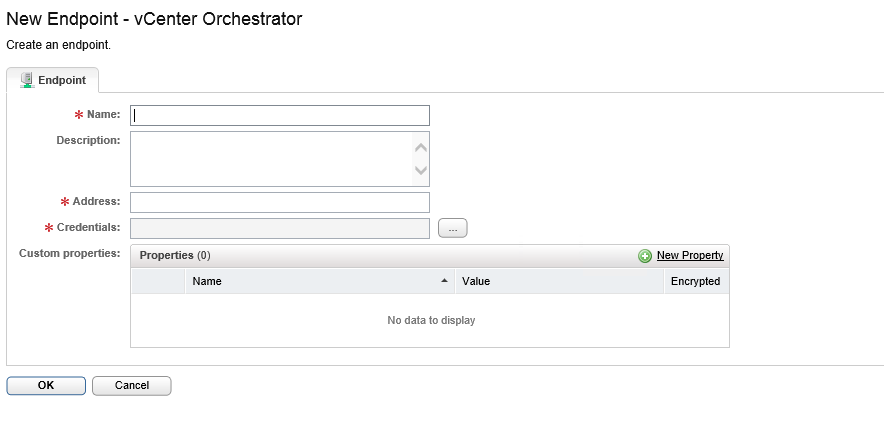
3. Click on New Endpoint > Orchestration > vCenter Orchestrator
4. Enter the name, address (add the port 8281/vco), add the credentials, Add the new property "VMware.VCenterOrchestrator.Priority" and set the value to 1 or higher which represents priority. Click on OK to save the settings.
5. This completes the additional of vCenter Orchestrator as Endpoint to vRA. You may perform the data collection to make sure vRA is communicating with external vCO. Hover the mouse on the newly added external vCO Endpoint and select Data Collection and click on Start.
6. Click on Refresh and make sure Data Collection succeeded.